Deploying a Node.js Application
Deploying to Heroku
To deploy your Node.js app you can use Heroku as hosting
From the site:
Heroku is a fully managed container-based cloud platform, with integrated data services and a powerful ecosystem, for deploying and running modern appsLet's get started with installing the Heroku Command Line Interface (CLI)
- Windows
- MacOS
brew install heroku/brew/heroku - Ubuntu 16+
sudo snap install heroku --classic
Use the
heroku logincommand to log in to the Heroku CLI:heroku login
heroku: Press any key to open up the browser to login or q to exit
› Warning: If browser does not open, visit
› https://cli-auth.heroku.com/auth/browser/***
heroku: Waiting for login...
Logging in... done
Logged in as me@example.comLet's create a new node package
cd node-example
npm init
Next install express
npm install express --saveFor Heroku, it is important to specify the version of node to match your version
node --version, edit thepackage.jsonto set the engine version.{
"name": "node-example",
"version": "1.0.0",
"description": "",
"main": "index.js",
"scripts": {
"test": "echo \"Error: no test specified\" && exit 1"
},
"keywords": [],
"author": "",
"license": "ISC",
"dependencies": {
"express": "^4.17.1"
},
"engines": {
"node": "10.x"
}
}Specify the start script in
package.json{
"scripts": {
"test": "echo \"Error: no test specified\" && exit 1",
"start": "node index.js"
}
}Next lets update the
index.jsto include a basic express app. Note that we are passing the environment variable PORT to our app.const express = require("express");
const port = process.env.PORT;
const app = express();
app.get("/", (request, response) => {
response.send("Hello Heroku World!");
});
app.listen(port, () => {
console.log(`Example app listening on port ${port}`);
});Build and run your application locally
npm install
heroku local
After you commit your changes to git, you can deploy your app to Heroku.
git init
git add .
git commit -m "Added a Procfile."
heroku login
Enter your Heroku credentials.
...
heroku create
Creating arcane-lowlands-8408... done, stack is cedar
http://arcane-lowlands-8408.herokuapp.com/ | git@heroku.com:arcane-lowlands-8408.git
Git remote heroku added
git push heroku master
...
-----> Node.js app detected
...
-----> Launching... done
      http://arcane-lowlands-8408.herokuapp.com deployed to Heroku
To open the app in your browser, type
heroku open.
Setting up the MongoDB database
- For our course and development, we will leverage MongoDB Atlas free cloud-hosted sandbox database. This database tier is not considered suitable for production websites because it has no redundancy, but it is great for development and prototyping.
- You will first need to create an account with MongoDB Atlas (this is free, and just requires that you enter basic contact details and acknowledge their terms of service)
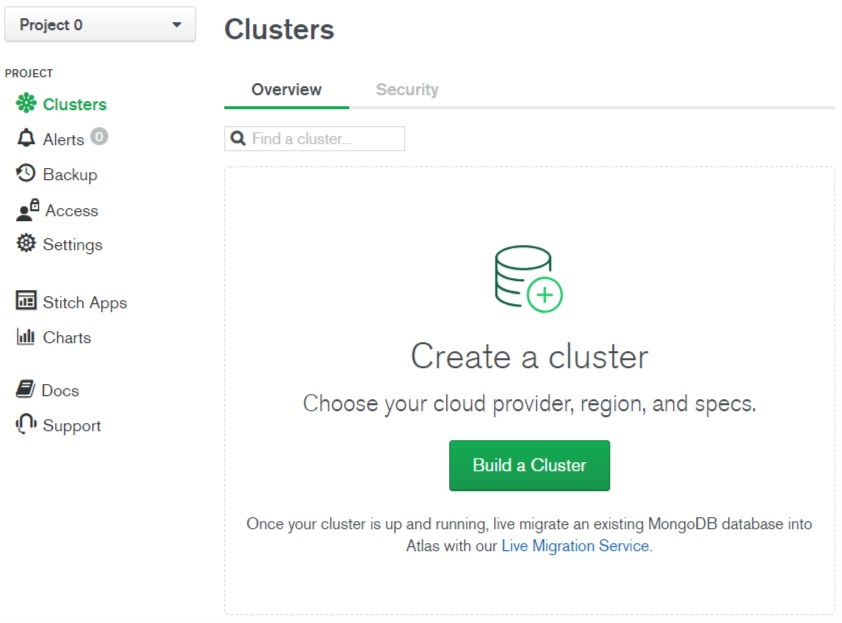
- After logging in, you'll be taken to the home screen:
- Click Build a Cluster button in the Clusters Overview section.
- This will open the Create New Cluster screen.
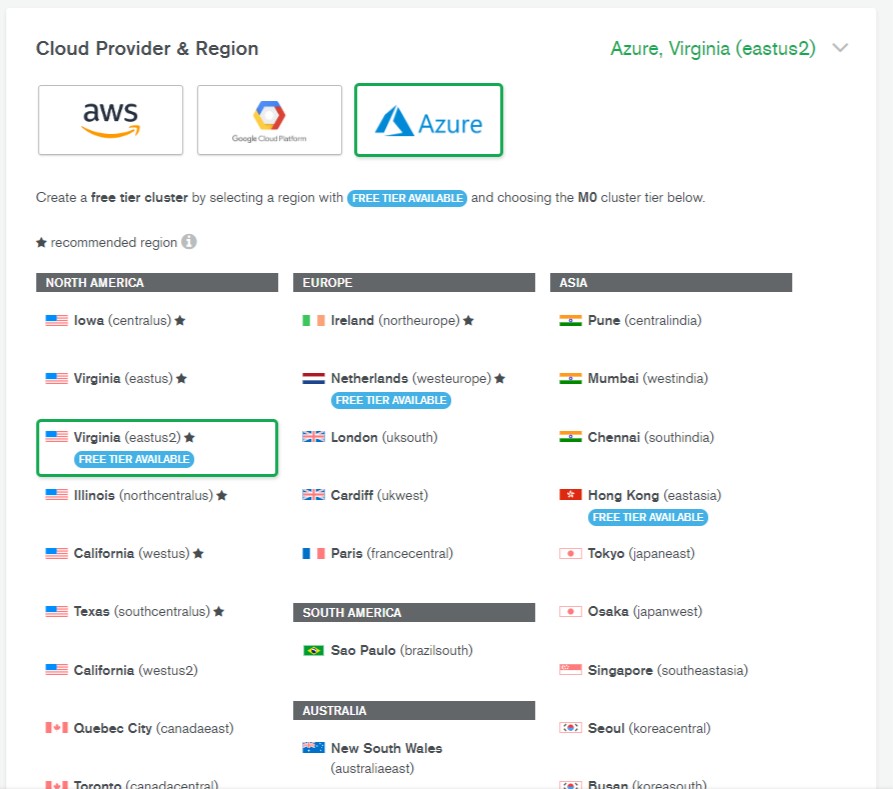
- Select any provider from the Cloud Provider & Region section. Different providers offer different regions.
- Select any region marked "FREE TIER AVAILABLE".
- Click the Create Cluster button (creation of the cluster will take some minutes).
- You will return to the Cluster Overview screen.
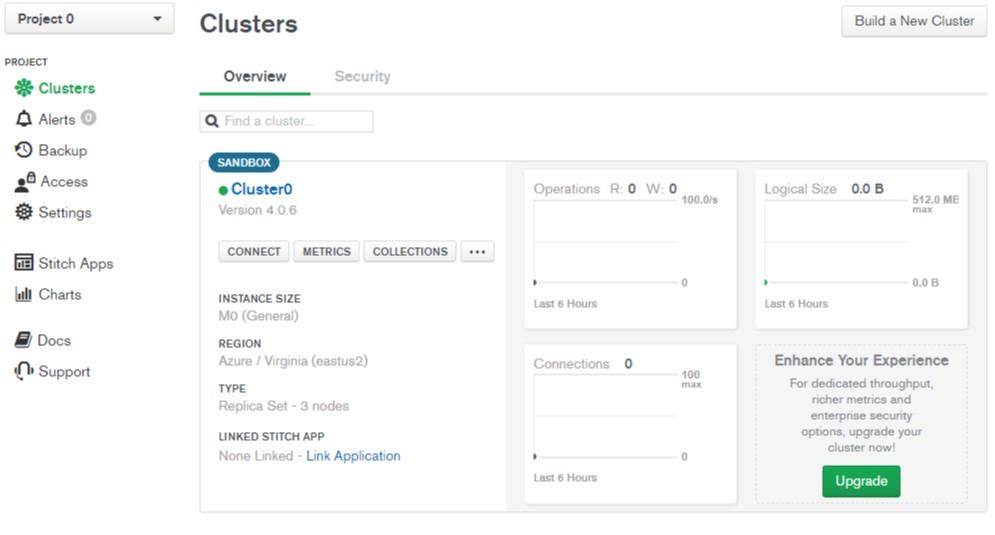
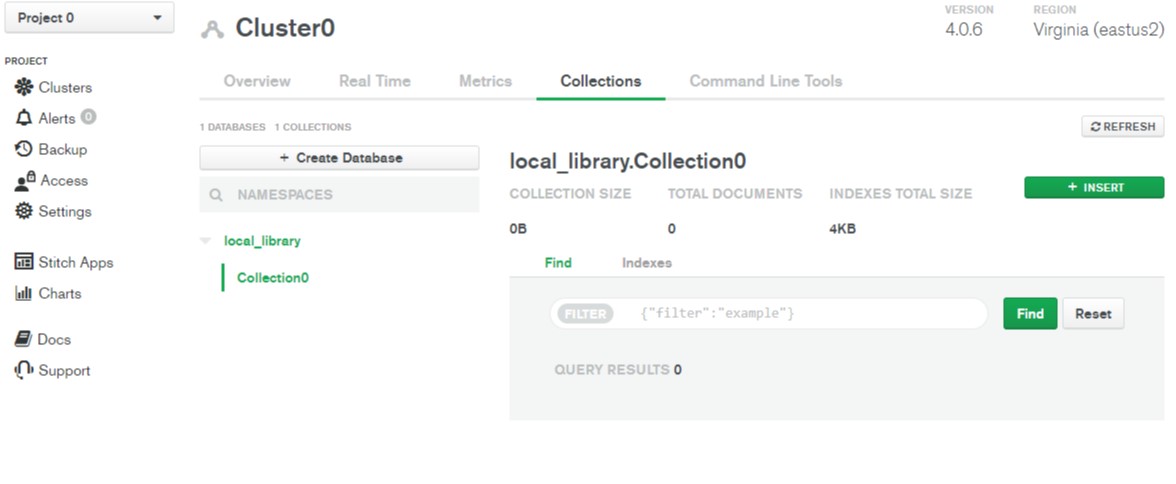
- Click the Collections button.
- This will open the Collections section.
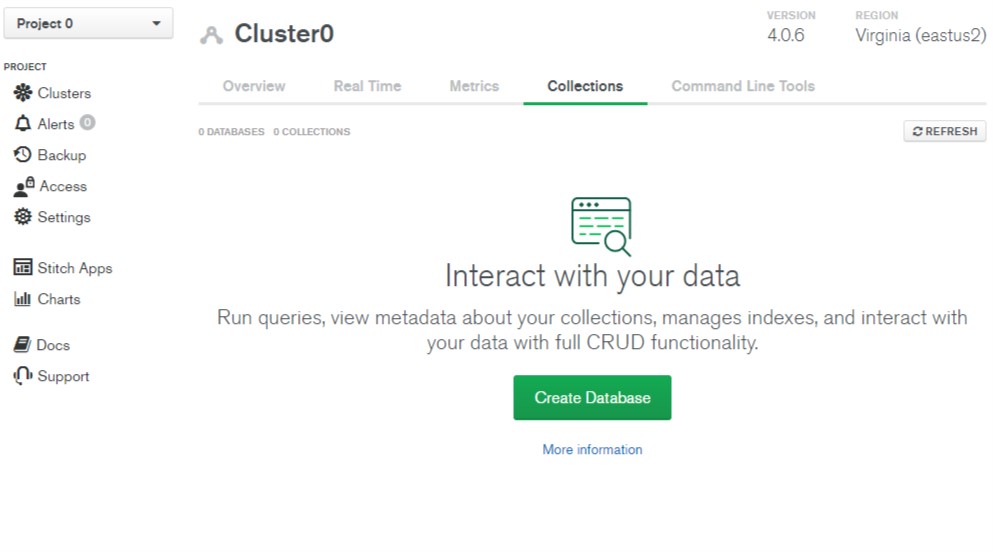
- Click the Create Database button.
- This will open the Create Database screen.
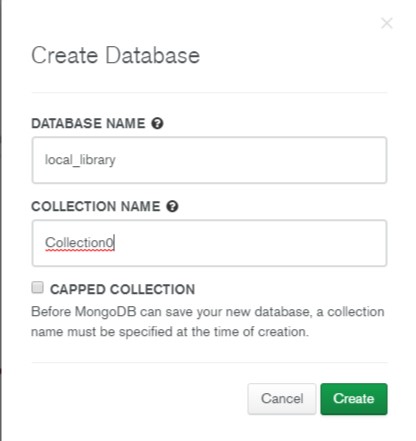
- Enter the name for the new database as
public. - Enter the name of the collection as
Collection0. - Click the Create button to create the database.
- Enter the name for the new database as
- You will return to the Collection screen with your database created.
- Click the Overview tab to return the cluster overview.
- From the Cluster0 Overview screen click the Connect button.
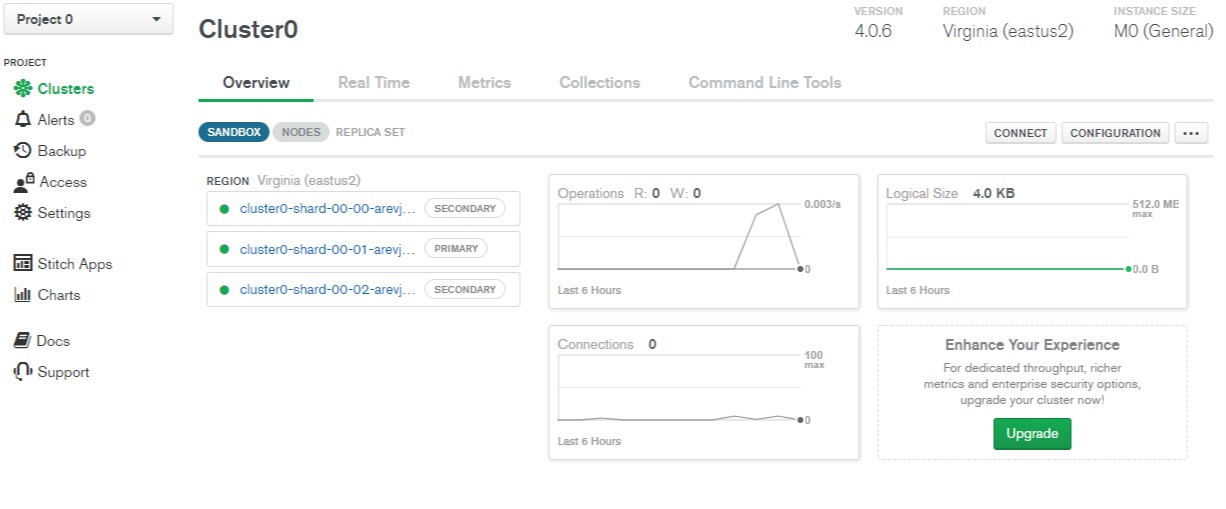
- This will open the Connect to Cluster screen.
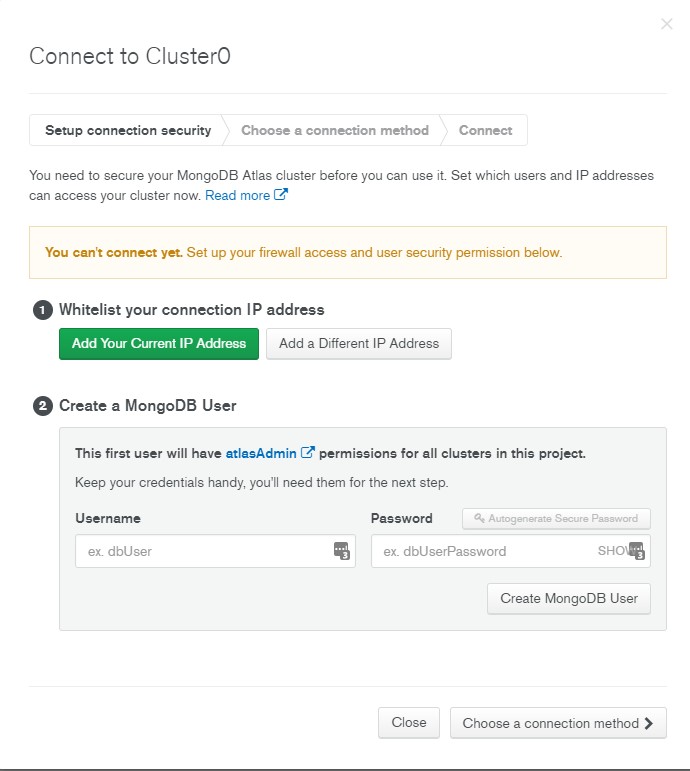
- Click the Add a Different IP Address button, enter
0.0.0.0/0for the IP Address and click Add IP Address button.- Note: It is a best practice to limit the IP addresses that can connect to your database and other resources. Here we allow a connection from anywhere because we don't know where the request will come from after deployment.
- Enter a username and password and click Create MongoDB User button.
- Note: Avoid using special characters in your MongoDB user password as mongoose may not parse the connection string properly.
- If you have completed the 2 previous steps, the button Choose a connection method will turn green.
- Click the Choose a connection method button.
- Click the Add a Different IP Address button, enter
- This will access the Choose a connection method tab.

- Click the Connect Your Application option.
- This will open the Connect screen.
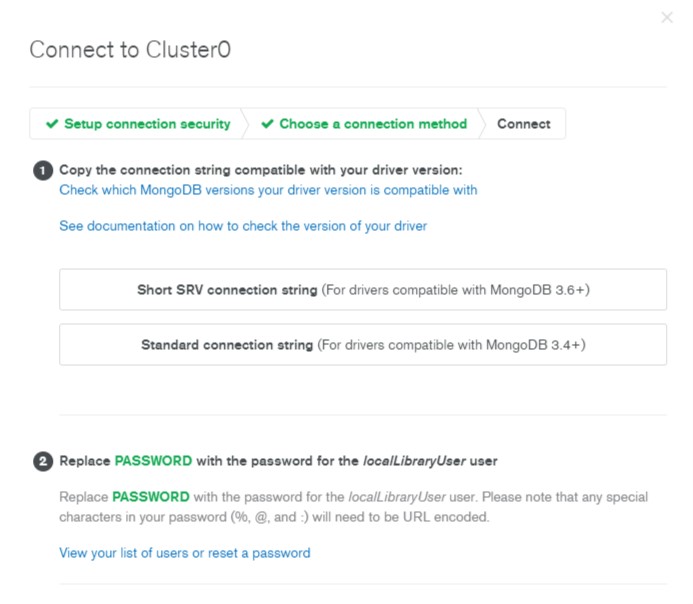
- Click the Short SRV connection string option to copy the connection string.
- This will open the connection string URL.

- Choose Copy button to copy the string.
- Save this string somewhere safe.
- Update the password with your users password.
- Replace test with
public.
- You have now created the database, and have an URL (with username and password) that can be used to access it. This will look something like:
mongodb+srv://your_user_name:your_password@cluster0-mbdj7.mongodb.net/public?retryWrites=true- DO NOT COMMIT THE VALUE TO GIT. Since this contains a secret (the user and password in the connection string), it is best practice to leverage enviroment variables.